


 The Tao of Malloy

The Malloy VS Code Extension is the primary authoring environment for Malloy models. It includes schema browsing, query execution, language auto-complete, documentation, and result visualizations.
Installation
Download Visual Studio Code: If you don't already have it, download Visual Studio Code
Open the Extensions panel: Press
Cmd+Shift+X(Mac) orCtrl+Shift+X(Windows/Linux). Or open the Command Palette (Cmd+Shift+P/Ctrl+Shift+P) and type "Extensions: Install Extensions"Install Malloy: Search for "Malloy" and click Install
Or install directly from the VS Code Marketplace.
Try the samples: Clone the malloy-samples repository:
Option A: In VS Code, use Clone Git Repository from the Start screen and enter:
https://github.com/malloydata/malloy-samples.gitOption B: From the command line:
git clone https://github.com/malloydata/malloy-samples.git
cd malloy-samples
code .
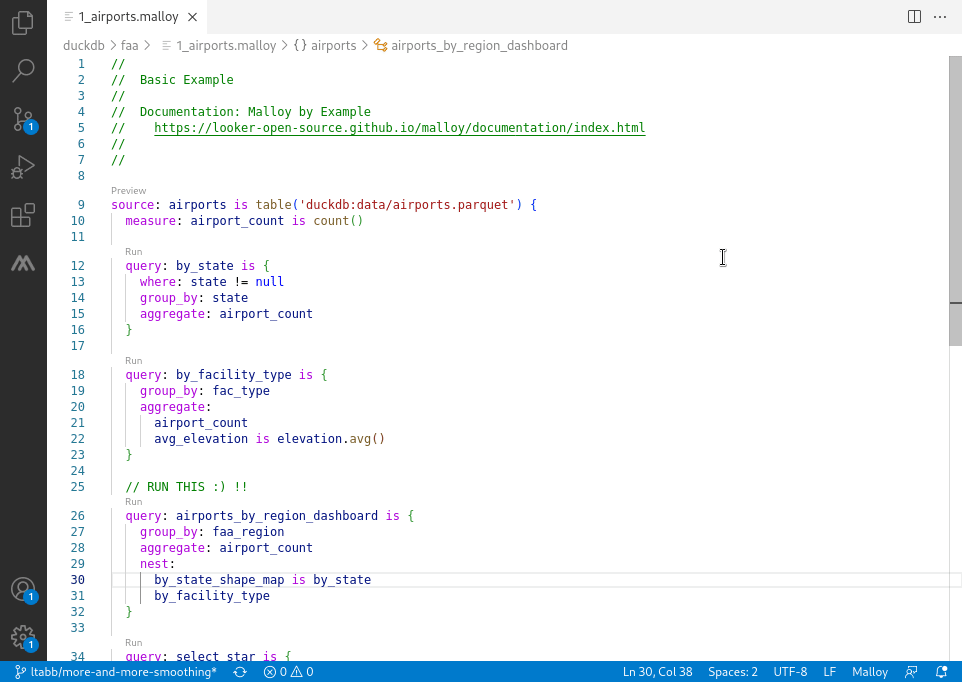
DuckDB is built into the extension, so you can run queries immediately—try opening any
.malloyfile in thefaaorecommercefolders.
VS Code Web (github.dev)
The Malloy Extension also works in VS Code Web environments like github.dev. Press . on any GitHub repository page to open it in the browser-based editor, then install the Malloy extension.
Limitation: VS Code Web only supports DuckDB with local files (CSV, JSON, Parquet). For BigQuery, Snowflake, or PostgreSQL, use VS Code Desktop.
Configuring Connections
There are three sources of connection configuration, resolved in priority order:
Project config (
malloy-config.json) — a config file discovered by walking up from the active file to the workspace rootGlobal config — a
malloy-config.jsonin the directory specified by themalloy.globalConfigDirectorysettingSettings + Defaults — user-level connections from VS Code settings, plus built-in defaults for each supported database type
The first source that exists wins — sources do not merge across levels. If a project malloy-config.json exists, it is fully authoritative: settings connections and defaults are not used at all. To include defaults alongside your config file connections, add "includeDefaultConnections": true to your config file.
Within a project config, you can also create a malloy-config-local.json in the same directory. Local config connections are deep-merged into the project config by connection name, allowing you to keep credentials or machine-specific overrides out of source control.
Connections Sidebar
The Malloy Connections sidebar shows the effective connections for the file you are currently editing. It works with both .malloy files and .malloynb notebook files.
When a config file applies (project or global), the sidebar shows a single Config group with the config file path in the header. Click the file icon on the group header to open the JSON file for editing. Config connections open in a read-only view.
When no config file applies, the sidebar shows:
Settings — User-defined connections from VS Code settings. Editable through the connection editor.
Defaults — One entry per supported database type, using built-in defaults. Click to create a new settings connection from the default.
The sidebar updates automatically as you switch between files, so it always reflects the connections that would be used if you ran a query from the current file.
Project Configuration: malloy-config.json
Place a malloy-config.json file in your project directory. The extension finds the config that applies to the current file by walking up from the file's directory toward the workspace root. It uses the first malloy-config.json it encounters. This means you can place a config file at the workspace root for project-wide connections, or in a subdirectory to override connections for files in that subtree. In multi-root workspaces, each workspace root has its own independent config search.
Local overrides: Place a malloy-config-local.json alongside a project malloy-config.json to override specific connections without modifying the shared config. Connections in the local file are merged by name into the project config. Add malloy-config-local.json to .gitignore to keep credentials out of source control. Local configs are only merged for discovered project configs, not global configs.
The extension watches for changes to malloy-config.json and malloy-config-local.json — edits take effect on the next query without reloading VS Code.
The extension also reads persistence manifests from the config's manifestPath directory. When the builder (malloy-cli build) writes a manifest, VS Code picks it up on the next compile — no restart needed.
Using with malloy-cli build: Both tools need to share the same config file so they read and write the same manifest. There are two ways to set this up:
Global config (simplest): Point the
malloy.globalConfigDirectorysetting at~/.config/malloy(or your platform's config directory). The CLI uses this location by default — no flags needed. Both tools share the manifest automatically.Project config: Put
malloy-config.jsonat your project root. The extension finds it automatically. Pass--config .to the CLI. Both tools share the project-local manifest.
See Configuration for the full config file format, connection type properties, manifest path, setup SQL, and environment variables.
VS Code Settings
You can also configure connections through the Connections sidebar or the command palette:
Open Command Palette:
Cmd+Shift+P(Mac) orCtrl+Shift+P(Windows/Linux)Type: Malloy: Edit Connections
Click Add Connection and select your database type
Fill in the connection details
Sensitive values (passwords, tokens) are stored securely in your system keychain.
Connection Editor
The connection editor lets you view and manage individual connections:
Test — Verify the connection works with the current settings
Duplicate — Create a copy of an existing connection
Delete — Remove a settings connection
Config file connections open in a read-only view. You can still test them, but edit the JSON file directly to change settings.
Connection Settings
| Setting | Description | Default |
|---|---|---|
malloy.globalConfigDirectory |
Directory containing a global malloy-config.json, used when no project config file is found (e.g. ~/.config/malloy) |
"" |
Database-Specific Setup
DuckDB
DuckDB runs locally with zero configuration. It reads Parquet, CSV, and JSON files.
// Local files (relative to workspace root)
source: flights is duckdb.table('data/flights.parquet')

// URLs
source: remote_data is duckdb.table('https://example.com/data.parquet')
Relative file paths in DuckDB are resolved from the workspace root, not from the directory of the .malloy file. This means duckdb.table('data/flights.parquet') reads <workspace>/data/flights.parquet regardless of where the Malloy file is located in the project.
MotherDuck
Set your token as an environment variable before launching VS Code:
export MOTHERDUCK_TOKEN=your_token_hereOr configure via Malloy: Edit Connections with databasePath set to md:.
BigQuery
OAuth (recommended for development):
gcloud auth login --update-adc
gcloud config set project my-project-id --installation
Then add a BigQuery connection via Malloy: Edit Connections. Leave the service account field empty to use gcloud credentials.
Service account:
In Malloy: Edit Connections, click "Pick file" to select your service account JSON key.
Snowflake
Both password and RSA key authentication are supported via Malloy: Edit Connections.
You can also use Snowflake's connections.toml file:
Location: ~/.snowflake/connections.toml
[default]
account = "myorg-myaccount"
user = "analyst"
password = "your_password"
warehouse = "compute_wh"
database = "analytics"
schema = "public"
PostgreSQL
Add a PostgreSQL connection via Malloy: Edit Connections. Enter host, port, database, username, and password. The password is stored securely in your system keychain.
MySQL
MySQL connections can be configured in malloy-config.json or via environment variables — see Configuration.
Trino and Presto
Add a Trino or Presto connection via Malloy: Edit Connections. Enter the server URL and port.
Next Steps
Database Support — Overview of all supported databases
Query existing models — Explore the malloy-samples to see Malloy in action
Build a semantic model — Create your first Malloy model from scratch
Persistence — Persist sources as pre-built tables